
Mule 4 MUnit Recorder: How to Use It and Why It Matters
About M-Unit
M-Unit is used as a Mule testing framework. It Allows Mule developers to do unit or regression testing on Mule applications. It’s a perfect fit for a continuous integration/deployment environment. One of the biggest advantages of the M-Unit framework is that we can easily integrate it with Maven and Surefire.
Features of M-Unit?
- In the M-Unit framework, we can create our Mule test by using Mule code as well as Java code.
- We can design and test our Mule apps and APIs, either graphically or in XML, within Anypoint Studio.
- M-Unit allows us to easily integrate the testing with the existing CI/CD process.
- It reduces manual work by providing auto-generated tests and coverage reports.
- It allows us to enable or disable/ignore tests.
- We can also extend the M-Unit framework with the help of plugins.
- We can also verify the message processor calls.
- With the help of the M-Unit testing framework, we can disable endpoint connectors as well as flow inbound endpoints.
- We can check error reports with the Mule stack trace.
M-Unit Test Recorder in Studio
The new feature of the test recorder enables you to record a processing flow and then configure a unit test based on the captured events. This test recorder captures real data as it goes through your application execution in Anypoint Studio. By capturing the flow execution, M-Unit can automatically generate an M-Unit test case so that you can configure the necessary mocks and assertions for your test.
Steps to record M-Unit test case:
Step 1: Once done with the implementation, Right click on your flow > Hover on M-Unit > Click on “Record Test for This Flow”.

Step 2: After this, your application will be deployed, and one window will open like below
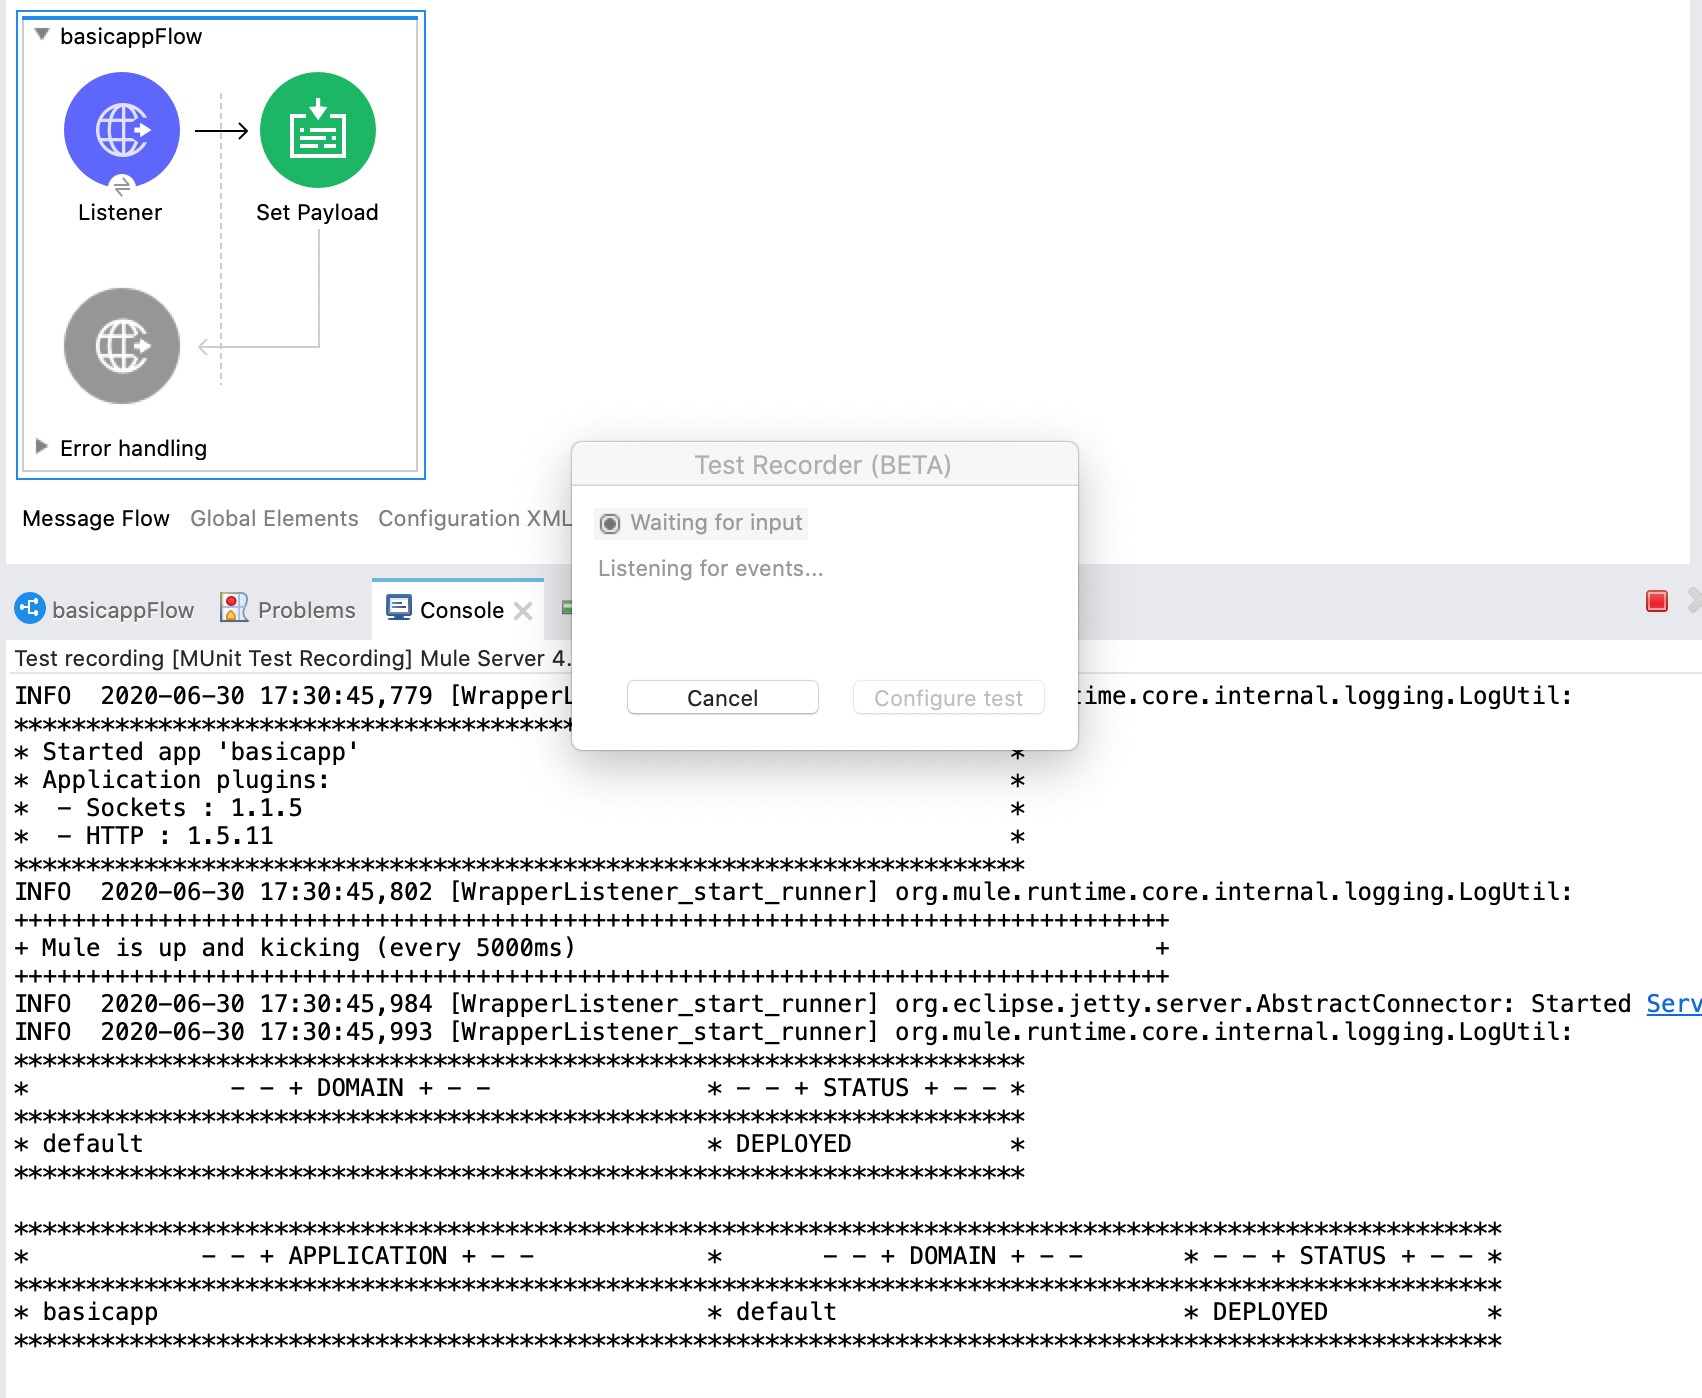
Step 3: In this step, now we must HIT our API or flow using the REST client like normal. This recorder will record the request payload along with attributes and response payload along with attributes.
Step 4: Once you get the response for your API/Flow, it will stop recording and you will get the response “Input Recorded at <Time>” along with the option to configure test
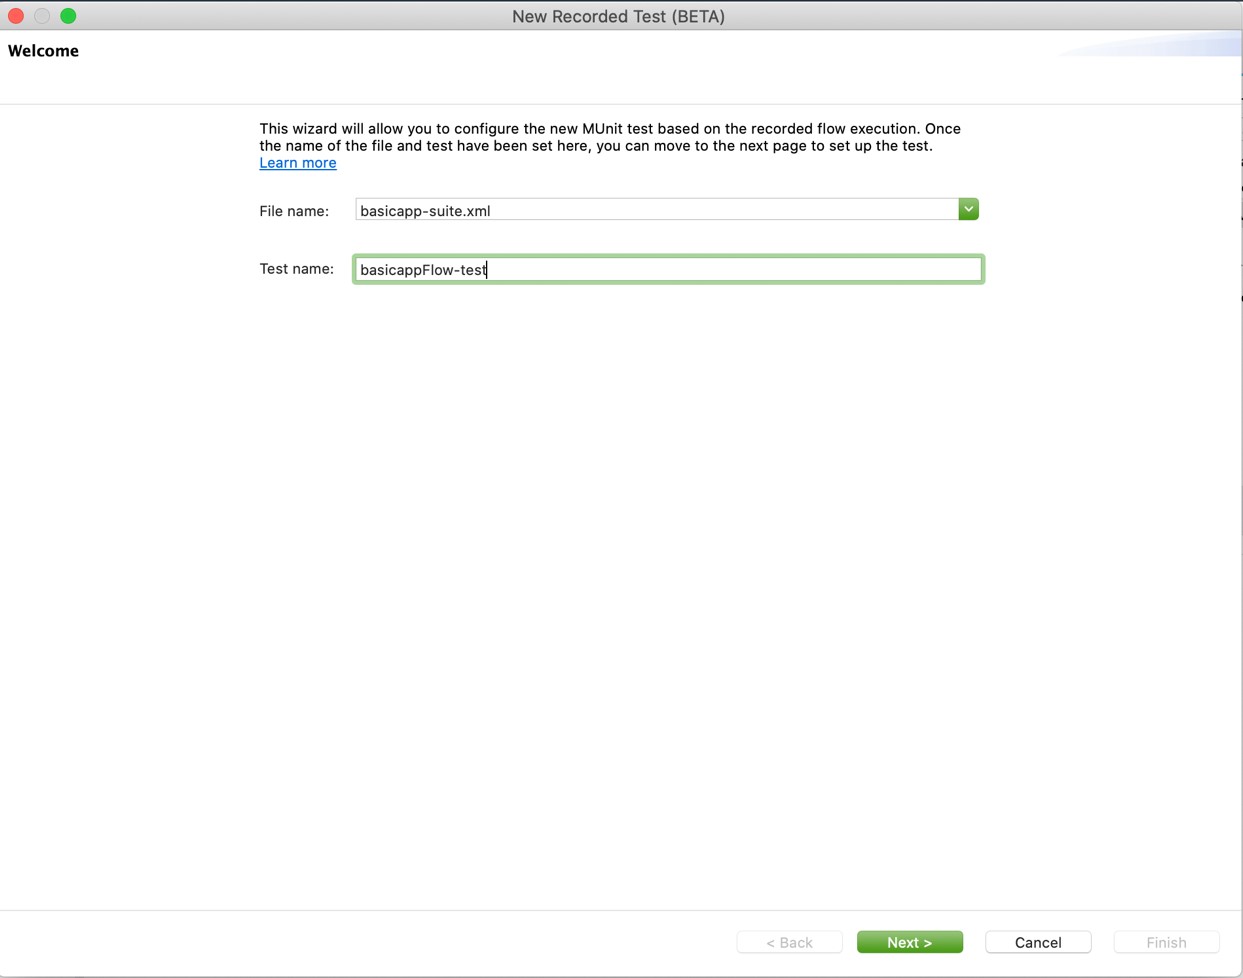
Step 5: After clicking on Configure test, you can set your File and test name. Once done, click on next
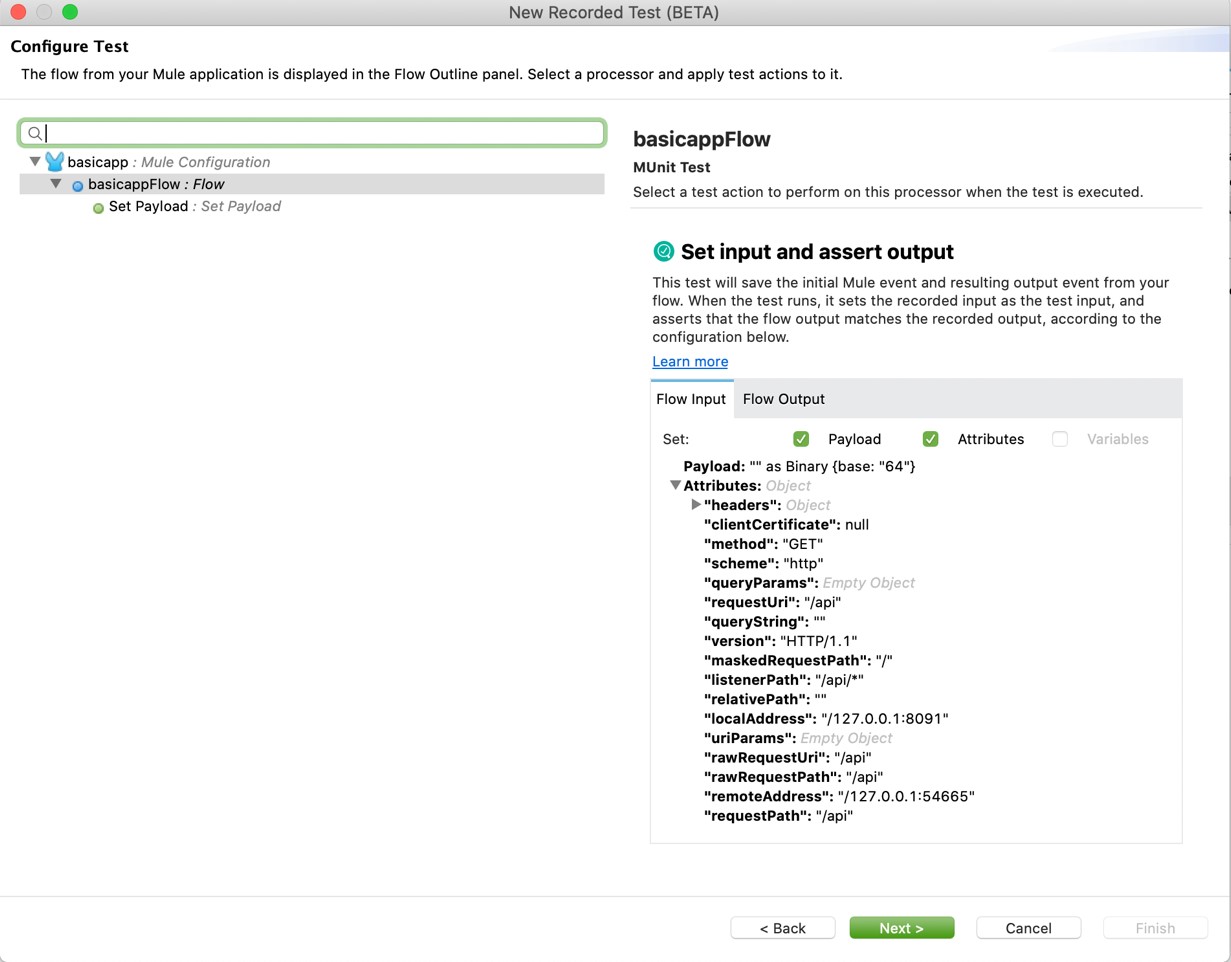
Step 6: In the next window, you can see your flow input and output based on which you can select or deselect payload/attributes as per the requirement
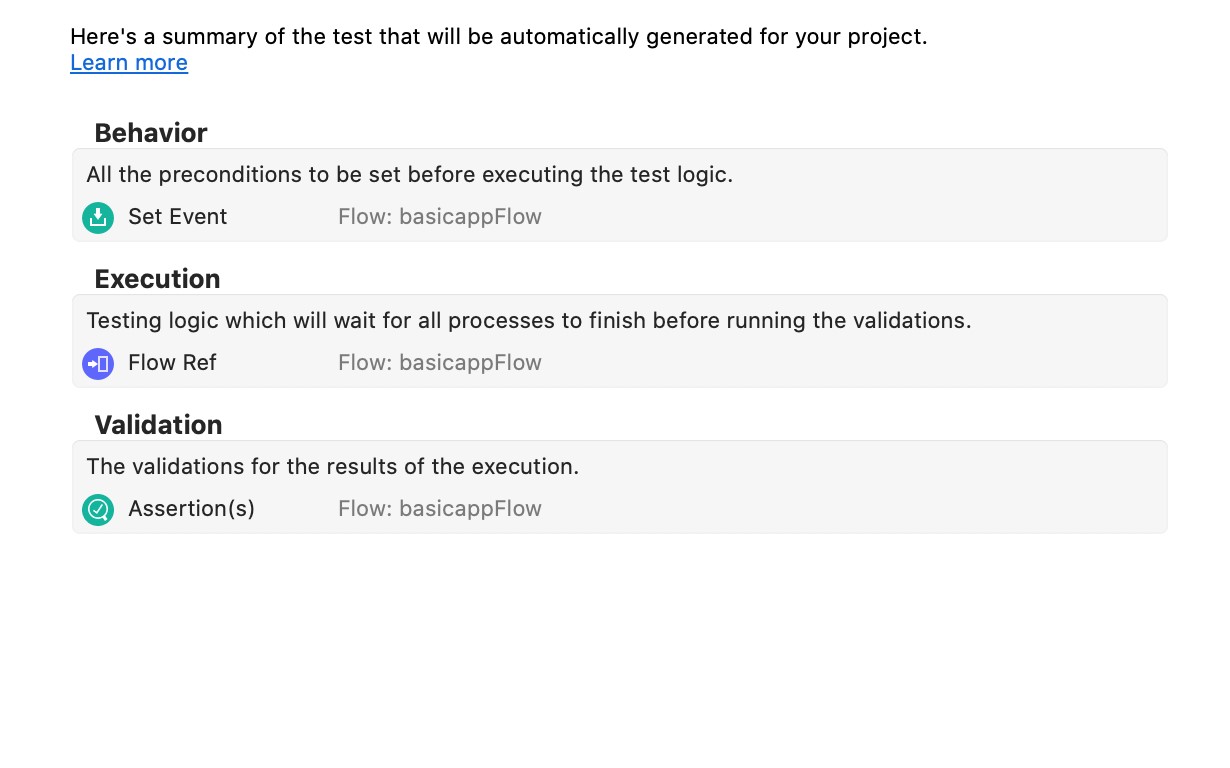
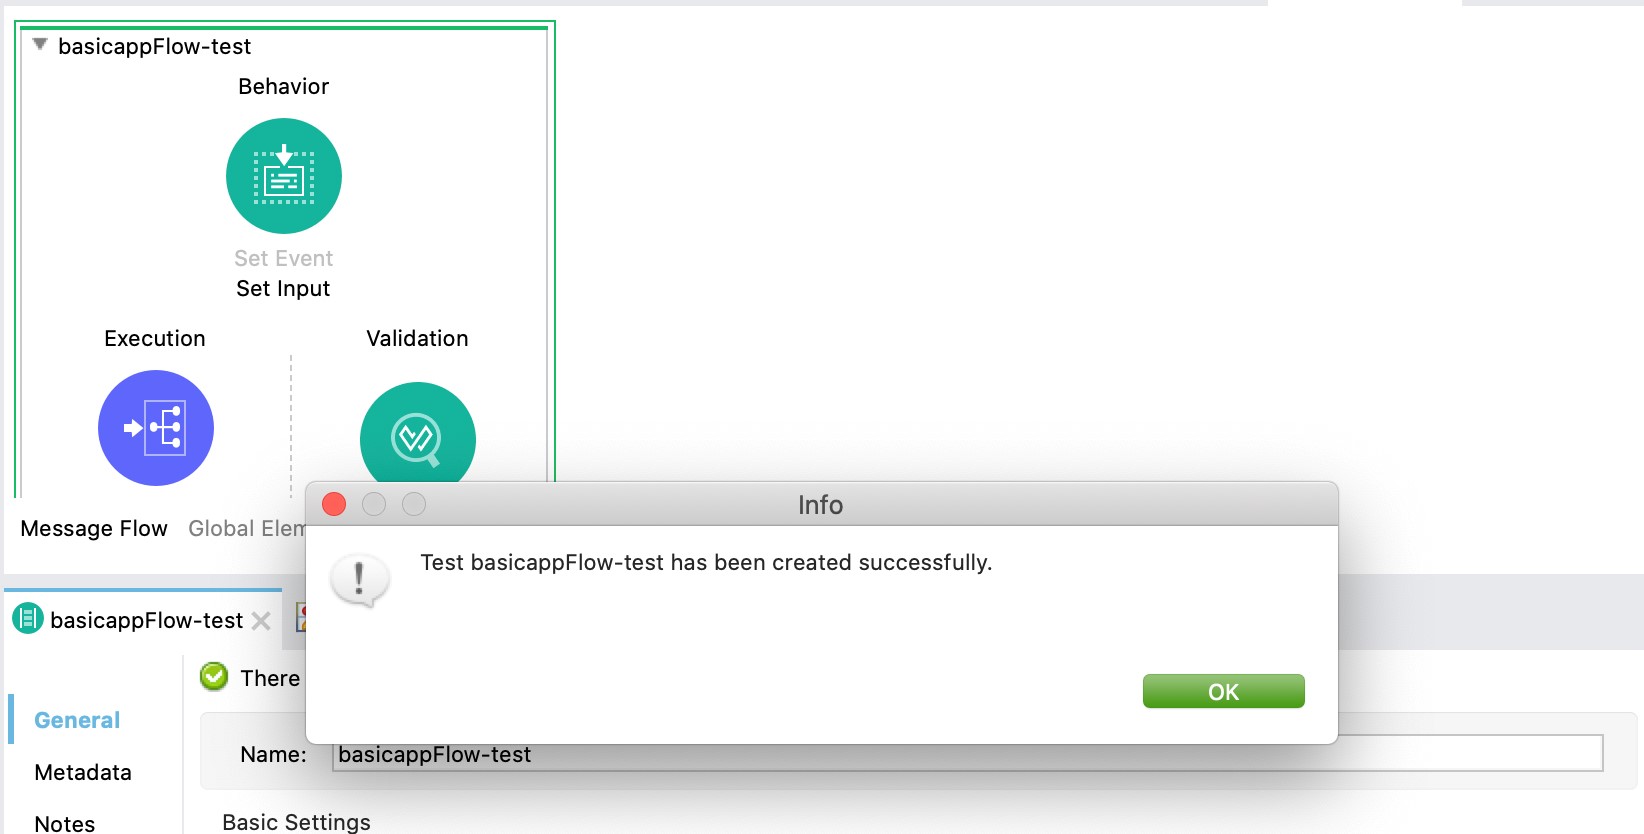
Step 7: After clicking on next, you can review your test case based on Behavior, Execution & Validation like below
Step 8: After reviewing, click on finish and you will get your test case ready along with prompt message of successful creation of M-Unit.
Compatibility
The following table describes the product versions required to use the test recorder.
| Product | Version |
| Anypoint Studio | 7.5.0 and later |
| M-Unit | 2.2.5 |
| M-Unit Anypoint Studio Plugin | 2.5.0 |
| Mule runtime engine | 4.3.0 |
Limitations
The test recorder is limited in the following ways when you create M-Unit tests:
- You cannot create tests for flows with Mule errors raised inside the flow or already existing in the incoming event, not even if they are handled by an on error continue error handler.
- A recorded flow execution ends successfully, but the result does not reach its destination because the application is killed.
- Your validations fail every time your test runs if you configure Spy or Assert processors to assert values for random data, time-dependent information (such as timestamps), or values resulting from parallel processes because those values change in every execution.
- Mocking values resulting from parallel processes cause a mixture of real and mocked data that compromise the execution of the processors that follow in your test.
- Although the recorder supports data iteration in the flow, such as recursive or loops, it does not support cases in which the structure of the data being tested changes inside the iteration.
- The recorder does not support mocking a message before or inside a For each processor.
Superb…. Nice explanation…..
Thank you Santhosh.