Dynamic Configuration Property Files in MuleSoft: A Step-by-Step Guide
It is always a good practice to define configurations in a property/YAML file instead of hardcoding it in Mule flows/connectors. In the below article, I am going to walk you through a Mule application that reads configurations from the property files that too based on the env provided at the runtime. To know how to create a basic mule application visit > Implement your first API.
Configure Property Files in Mule
Steps to follow:
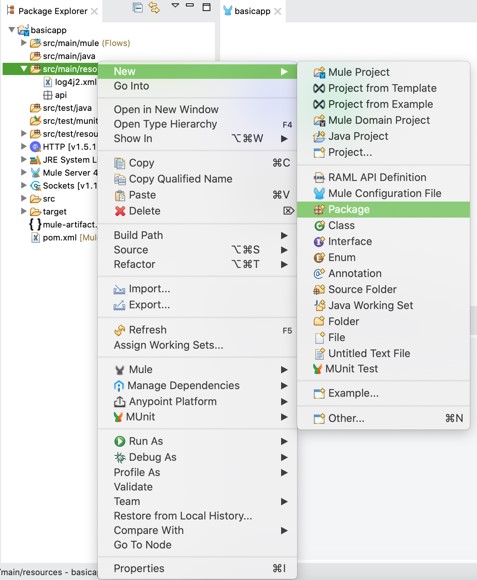
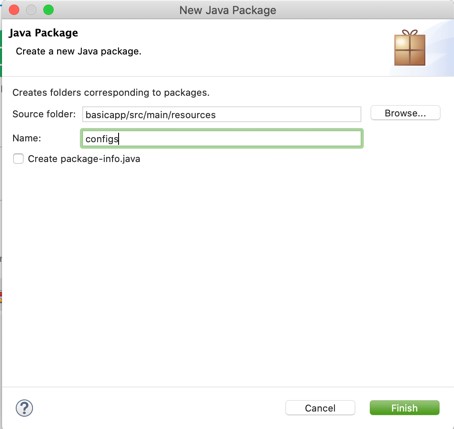
Step 1: Once the project is created in the studio, right-click on the ‘src/main/resources and click on the package and create a new configs package.
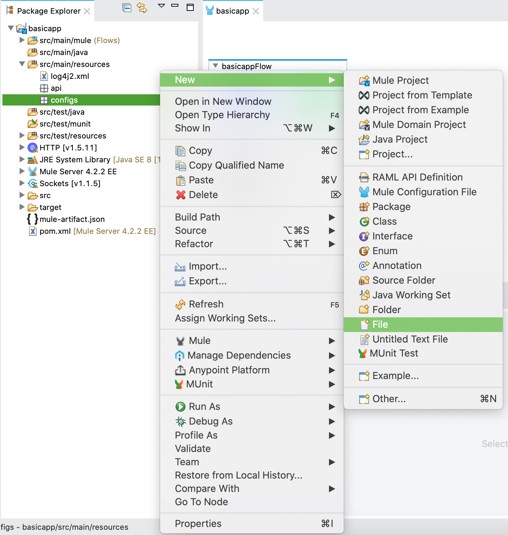
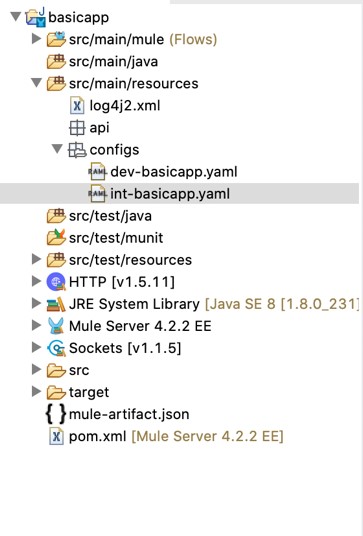
Step 2: Right-click on configs > New > File and enter the property file name: env-appname.yaml, In my case it is dev-basicapp.yaml, and do the same for creating another one for int env.
Step 3: Add HTTP configuration like below
Step 4: Now go to your main XML, and click on global elements then click on create button
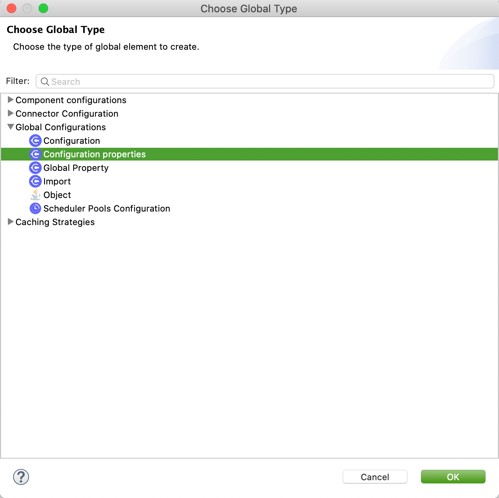
Step 5: Open the global configurations drop-down and click on configuration properties
Step 6: Define the path of your configuration file like below and click on OK
Note*: Here we are defining env by ${} in order to read it dynamically from runtime variables.
Step 7: We have configured the property files which will read the configurations dynamically based on the mule.env runtime variable. Now, open HTTP connector configuration and update the port value with this ${http.port}
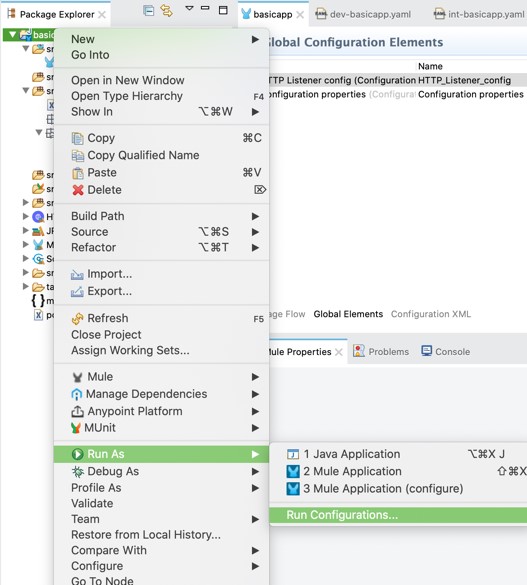
Step 8: Right-click on the project and go to Run As > Run configurations > Environment and click on New to add the env variable like below
Step 9: Now click on Run, and test your application using postman or any other rest client.
Key Point: In order to read configurations from the property file, use ${Property-Placholder} in connectors configurations values.

